
DIY vs. Professional Insulation: A Cost-Benefit Analysis for Local Homeowners
That chill you feel in the living room on a windy day, or the shock of opening your utility bill in the middle of summer—these are common pain points for homeowners. You know your home could be more comfortable and efficient, and insulation is often the key. This leads to a critical question every homeowner faces: Should you tackle insulation as a weekend warrior project to save money, or is it a job best left to the professionals? This is a cost-benefit analysis with long-term consequences for your wallet and your home’s health.
At elmcityhomeinspection.com, we’ve been inside thousands of local homes. We are a service provider in the home inspection industry, and we see firsthand how proper insulation impacts a home’s health and efficiency—and the costly problems that arise from a job done wrong. This guide leverages our expertise to help you make an informed decision, moving beyond the sticker price to understand the true value of getting the job done right.
Key Takeaways
- DIY Savings vs. Risks: DIY insulation can save 50-70% on labor costs but carries significant risks, including improper installation that negates savings, personal health hazards, and the potential for creating long-term moisture damage.
- Professional Guarantees: Professional installation costs more upfront but typically includes expertise in material selection, adherence to building codes, warranties for both materials and labor, and guaranteed energy performance.
- Long-Term Value: The true cost-benefit analysis extends beyond the initial price. A professional job often yields higher long-term energy savings and prevents expensive repairs from issues like mold or rot, offering a better return on investment.
- Inspection’s Role: A professional home inspection, especially one using thermal imaging, can reveal existing insulation deficiencies, helping homeowners prioritize and plan their project effectively before spending a dime.
TL;DR
For small, simple jobs like topping off attic insulation, DIY can save money if you’re careful. For whole-home projects, complex spaces like wall cavities, or any spray foam application, hiring a professional is safer and provides better long-term value and guaranteed performance.
What is the true cost of DIY insulation?
The true cost of DIY insulation includes not just the materials you buy but also the necessary tools, your valuable time, and the potential for expensive mistakes. While the price tag on a bag of insulation at the hardware store seems low, it’s only one part of the total investment. The real costs emerge when you factor in equipment, safety gear, and the financial impact of a job that isn’t done to professional standards.
Material Costs Breakdown
The first line item is the insulation itself. Prices vary significantly based on the type and R-value (its resistance to heat flow).
| Insulation Type | Average Material Cost (per sq. ft.) | Common Use Cases |
|---|---|---|
| Fiberglass Batts/Rolls | $0.60 – $1.40 | Attics, floors, open wall studs |
| Blown-In (Cellulose/Fiberglass) | $1.00 – $1.50 | Attics, enclosed existing walls |
| Spray Foam (DIY Kits) | $1.25 – $3.00+ | Air sealing, rim joists, small areas |
Note: These are material-only estimates and can fluctuate based on location and supplier.
Tool & Equipment Rental
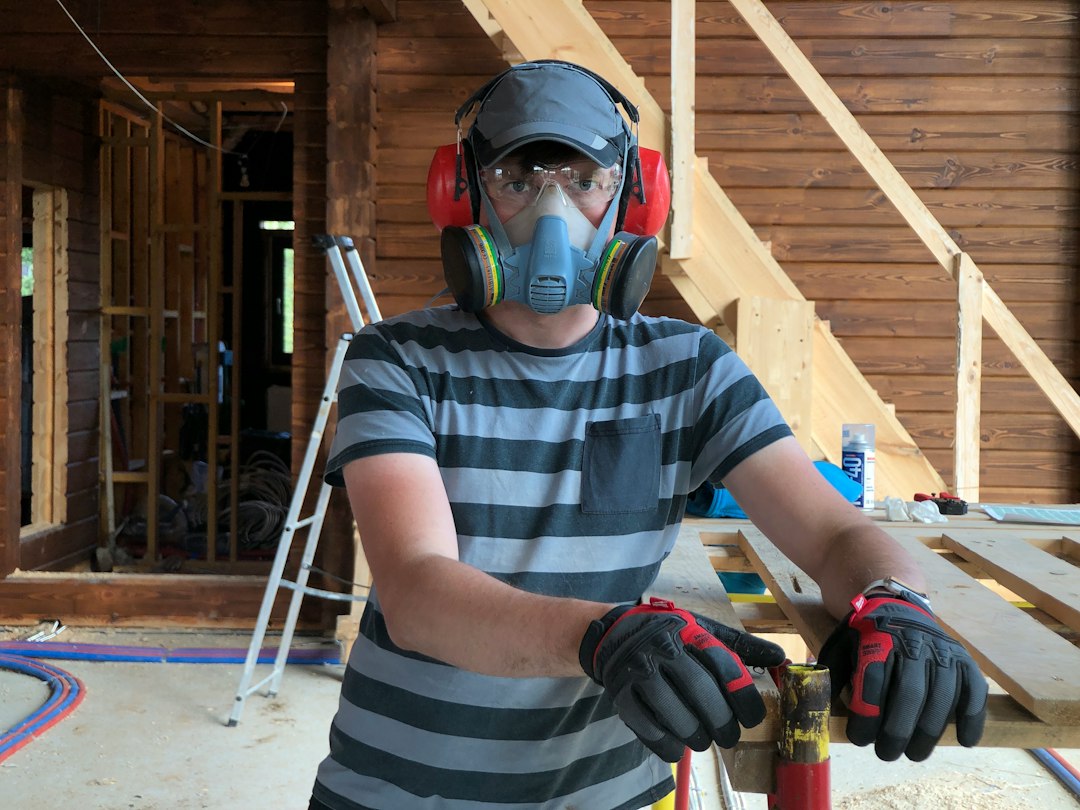
You can’t install blown-in insulation with your bare hands. You’ll need specialized equipment, which adds to the project cost. Renting an insulation blower can cost around $100-$200 per day. You’ll also need to purchase personal protective equipment (PPE), which is non-negotiable.
PPE: A non-exhaustive list of necessary safety gear.
- Respirator/Mask: To prevent inhaling fiberglass or cellulose particles.
- Goggles: To protect your eyes from airborne debris.
- Gloves: To prevent skin irritation from fiberglass.
- Disposable Suit: To keep irritating fibers off your clothes and skin.
The “Cost” of Your Time
Professionals can often insulate an entire attic in a single day. A DIY project, on the other hand, can consume an entire weekend or more, especially for a first-timer. Consider the value of your time. If a project takes you 16 hours over a weekend, that’s two full workdays you’ve invested. This “sweat equity” has a real opportunity cost.
Hidden Costs of Common Mistakes
This is where we at elmcityhomeinspection.com see DIY projects go wrong most often. The initial savings can be wiped out by a single mistake.
- Compression: Compressing fiberglass batts dramatically reduces their R-value. According to the U.S. Department of Energy, compressing insulation can lower its effectiveness by 50% or more. We frequently find batts stuffed tightly around pipes or wires, creating an energy-draining weak spot.
- Gaps and Voids: Even small gaps in insulation coverage can lead to significant heat loss, a phenomenon known as “thermal bridging.” These gaps act as highways for heat to escape your home.
- Improper Vapor Barriers: Installing a vapor barrier on the wrong side of the insulation (or using one when it’s not needed) can trap moisture inside your walls or attic. This can lead to mold, mildew, and even structural rot—repairs that cost thousands of dollars.
How much does professional insulation installation cost?
Professional insulation installation costs more upfront due to expert labor, but it often includes a warranty and guarantees long-term performance and energy savings. When you hire a reputable contractor, you’re not just buying materials; you’re investing in expertise, efficiency, and peace of mind. The final bill reflects a comprehensive service that a DIY project simply cannot replicate.
Breakdown of Professional Costs
A professional quote typically bundles several components together. While it varies, a common breakdown is:
- Materials: 25-40% of the total cost.
- Labor: 40-60% of the total cost. This covers the crew’s time, expertise, and liability insurance.
- Overhead & Profit: 10-20% of the total cost. This includes equipment, business operations, and cleanup.
Factors That Influence the Price
No two insulation jobs are identical. The final price tag will depend on several key factors:
- Home Size: A larger attic or more wall space requires more material and labor.
- Insulation Type: High-performance options like closed-cell spray foam are significantly more expensive than traditional fiberglass or cellulose.
- Accessibility: Working in a cramped crawl space or a complex attic with low clearance will increase labor costs compared to an open, easily accessible attic.
- Prep Work: The cost will be higher if old, damaged insulation must be removed or if significant air sealing is required before the new insulation can be installed.
- Local Labor Rates: Market rates for skilled labor vary by region.
The Value of a Warranty
One of the most significant advantages of hiring a professional is the warranty. Most reputable insulation contractors offer a warranty on both their workmanship and the materials they use. This means if the insulation settles, or if you discover gaps or installation defects, the contractor is obligated to fix it at no additional cost. This guarantee protects your investment and ensures the job delivers the promised energy savings for years to come.
What are the biggest risks of installing insulation yourself?
The biggest risks of DIY insulation involve health hazards from materials, improper installation that reduces energy efficiency, and creating moisture or mold problems. While saving on labor is tempting, these risks can lead to consequences far more costly than a professional’s fee. From our experience in the field, we’ve seen these issues manifest in homes time and time again.
Health and Safety Concerns
Working with insulation materials requires caution and the right protective gear.
- Fiberglass: The small glass fibers can irritate the skin, eyes, and respiratory tract. Without a proper respirator, these particles can be inhaled, leading to lung irritation.
- Spray Foam: Two-part spray foam kits involve a chemical reaction that releases volatile organic compounds (VOCs). The Occupational Safety and Health Administration (OSHA) warns that exposure during application without proper ventilation and a supplied-air respirator can cause asthma and other respiratory problems.
- Confined Spaces: Attics and crawl spaces are often poorly ventilated and can harbor dust, mold, or animal droppings, all of which pose respiratory risks.
Critical Performance Issues
The goal of insulation is to create a continuous thermal barrier. Mistakes during installation compromise this barrier, drastically reducing its effectiveness.

- Air Gaps: We often see batts cut too short or laid haphazardly, leaving gaps that allow heat to flow freely. A thermal camera reveals these gaps as bright “hot spots” in the winter.
- Insulation Compression: As mentioned earlier, stuffing insulation into a space that’s too small crushes the air pockets that give it its insulating power. This is a common mistake around electrical boxes, pipes, and framing.
- Failure to Air Seal: Insulation’s job is to slow heat transfer, not stop air leaks. The most effective strategy is to air-seal first, then insulate. Many DIYers skip the crucial step of sealing gaps in drywall, around plumbing penetrations, and at the top of interior walls, rendering their new insulation less effective.
Structural and Moisture Risks
This is perhaps the most dangerous and expensive DIY risk. Incorrectly installing a vapor retarder can trap moisture within your home’s structure. In cold climates, placing it on the exterior side of the insulation can cause condensation to form inside the wall cavity during the winter, leading to wood rot, mold growth, and compromised structural integrity.
What benefits do you get from hiring a professional?
Hiring a professional insulation installer provides key benefits like expert material selection, guaranteed performance, faster completion, and adherence to local building codes. These advantages ensure the job is done safely, effectively, and provides the best possible return on your investment. When you’re looking for the best insulation contractor, you are paying for a result, not just a product.
Expertise and Experience
A seasoned professional can assess your home and recommend the right type of insulation for each specific area. They understand the complex interactions between insulation, ventilation, and moisture control in your local climate. They know how to handle tricky spots like knee walls, cathedral ceilings, and cantilevers—areas where DIY installations often fail.
Proper Tools and Safety Protocols
Professionals use commercial-grade equipment, such as high-powered blowers that install cellulose or fiberglass at the correct density for optimal performance. For spray foam, their equipment ensures the two components are mixed at the precise temperature and ratio, something DIY kits can’t always guarantee. They also follow strict safety protocols to protect both their crew and your family from exposure to materials.
Efficiency and Speed
An experienced crew can insulate an entire home in a day or two, a job that might take a homeowner several weekends. This minimizes the disruption to your daily life and means you start saving on your energy bills sooner. They also handle all aspects of the job, including prep work and thorough cleanup.
Code Compliance and Guarantees
Professional installers are knowledgeable about local building codes, which dictate required R-values and fire safety standards. A professional installation ensures your home is compliant, which is important for safety and for future real estate transactions. This work is backed by a warranty, giving you recourse if the job isn’t up to par.
How can a home inspection identify insulation problems?
A professional home inspection from a company like elmcityhomeinspection.com can identify hidden insulation problems using tools like an infrared camera to find gaps and moisture. Before you decide whether to DIY or hire a pro, it’s essential to know the current state of your home’s thermal envelope. An inspection provides an objective roadmap for your project.
The Role of Thermal Imaging
An infrared (IR) camera is one of the most powerful tools in a home inspector’s arsenal. It creates a visual representation of surface temperatures, making it easy to spot insulation deficiencies.
- In winter, missing or settled insulation appears as cold spots (blue/purple) on interior walls and ceilings.
- In summer, these same areas show up as hot spots (red/yellow).
This technology allows us to pinpoint the exact locations of energy loss without any destructive testing, showing you precisely where your money is going.
Checking for Proper Ventilation
Insulation and ventilation work together as a system, especially in an attic. A common DIY mistake is to block soffit vents with insulation, which chokes off airflow to the attic. This can lead to moisture buildup in the winter and extreme heat in the summer, potentially causing ice dams and shortening the lifespan of your roof shingles. An inspector will check that baffles are in place and that ventilation pathways are clear.
Identifying Signs of Moisture or Pests
Insulation can unfortunately hide evidence of other problems. During an inspection, we look for insulation that is stained, compressed, or damp, which can indicate a roof leak, plumbing issue, or condensation problem. We also look for signs of pest activity, as rodents and insects often nest in insulation, destroying its R-value and creating unsanitary conditions.
Verifying R-Value and Coverage
An inspector can measure the depth of your existing attic insulation to calculate its approximate R-value and determine if it meets the current recommendations from sources like the U.S. Department of Energy for your climate zone. This assessment helps you understand if you simply need to “top up” what you have or if a full removal and replacement is the better option.
When is DIY insulation a good idea?
DIY insulation can be a good idea for small, easily accessible projects like topping up existing attic insulation or insulating a crawl space rim joist. For these specific tasks, the risks are lower and the potential for cost savings is high, provided you follow safety precautions and installation instructions carefully.
Best Projects for DIY
- Topping Up Attic Insulation: If your attic already has a layer of insulation but it’s below recommended levels, laying unfaced batts or rolls over the top is a straightforward project.
- Insulating Rim Joists: Cutting rigid foam board or fiberglass batts to fit into the rim joists in your basement or crawl space is a manageable and high-impact way to reduce air leakage.
- Small Garage or Workshop Projects: Insulating the walls of a small, detached structure with open studs is a good way to practice your technique on a low-risk building.
When to Reconsider
You should immediately reconsider a DIY approach and call a professional if the project involves any of the following:
- Removing Drywall: Insulating existing, enclosed walls is a complex job that requires specialized equipment to blow insulation into the cavity.
- Dealing with Old Wiring: If your home has old knob-and-tube wiring, it’s a serious fire hazard to cover it with insulation. A qualified electrician must assess it first.
- Spray Foam Application: Beyond very small “can” projects, applying two-part spray foam requires extensive safety gear and expertise to ensure it cures correctly.
- Removing Old or Contaminated Insulation: If existing insulation is moldy or contaminated with pest droppings, it should be removed by a professional remediation company.
Final Thoughts: Making the Right Choice for Your Home
The decision between DIY and professional insulation is a classic trade-off between upfront cost and long-term value. While the initial savings of a DIY project are undeniably tempting, our experience inspecting homes has shown that the “cost” of a mistake can quickly erase any money saved. Gaps, compression, and moisture issues resulting from an improper installation lead to higher energy bills and potentially thousands in repair costs down the road.
The best decision is always an informed one. Understanding your home’s specific needs is the critical first step. A professional installation is an investment in guaranteed performance, safety, and peace of mind. We’ve built a comprehensive resource for homeowners at elmcityhomeinspection.com, covering everything from our core inspection services, which you can see in our page sitemap, to detailed blog posts organized by category and written by our team of experts. Knowing where you stand before you start is the smartest investment you can make.